
How to Fix Candle Tunneling and Restore Perfect Burns
Why Your Expensive Candles Keep Tunneling
It’s a scene many of us know all too well: that beautiful, pricey candle you treated yourself to is now burning straight down the middle, leaving a thick, stubborn wall of unused wax along the sides. If this sounds familiar, you're not alone, and it’s not always your fault. The reasons behind this frustrating problem, known as candle tunneling, often go deeper than just how you light it. Let's get into what's really sabotaging your candle's performance.
The First Burn Is Everything
More often than not, the prime suspect behind tunneling is the very first burn. Think of that initial light as setting the memory for the candle's entire life. If you light a brand-new candle for a quick 20 minutes before blowing it out, you've accidentally set it on a path to tunnel. This is because wax develops a 'memory' from that first melt. A short burn creates a narrow pool of melted wax, and from then on, the candle will 'remember' that boundary. Every subsequent time you light it, it will only melt within that small ring, digging the tunnel deeper and wasting all that fragrant wax on the sides.
Beyond the Initial Light
While that first burn is a big deal, other culprits can also cause this wasteful burn. The wick itself plays a major role. If a manufacturer uses a wick that's too small for the candle's diameter, it simply won't be able to generate enough heat to melt the wax all the way to the edge of the container. In this case, even if you do everything right, the candle was unfortunately designed to tunnel from the get-go.
On the flip side, a wick that’s too long or hasn't been trimmed can create a flame that is too large and flickers wildly. This often results in an uneven melt and can produce ugly black soot. Even the placement in your home matters. A candle sitting in a chilly room or near a draughty window or vent will burn unevenly. The cool air prevents the outer edges of the wax from melting properly, encouraging a tunnel to form. Understanding these factors is the first step in figuring out how to fix candle tunneling. For a deeper dive, you can find more expert advice on achieving a perfect burn on Standle Aromatic's blog.
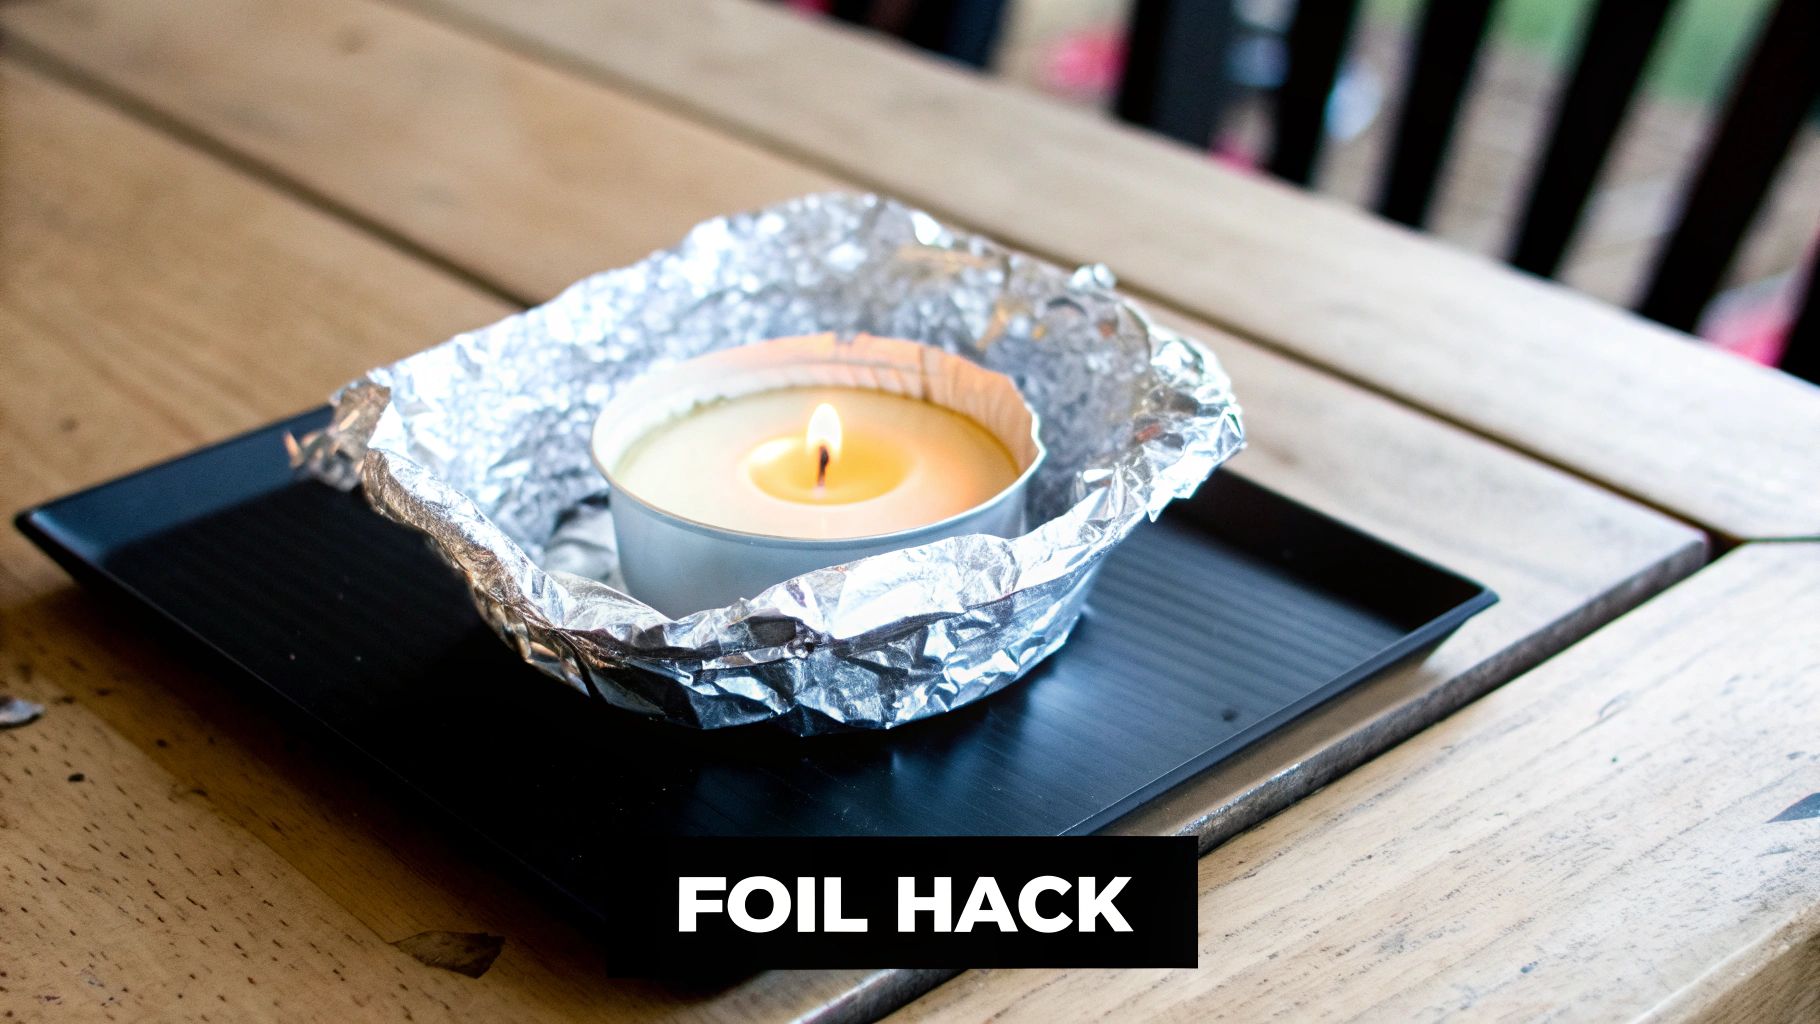
The Aluminum Foil Rescue Method That Actually Works
When you're dealing with a stubborn tunneled candle, the best solution might already be in your kitchen drawer: aluminum foil. This isn't just an old trick; it’s a favourite among candle enthusiasts because it effectively traps heat. This forces the hard, built-up wax on the sides of the jar to finally melt, correcting the candle's burn memory. Imagine creating a tiny oven for your candle, focusing the flame's warmth exactly where it's needed to fix the problem.
Creating Your Foil Fix
First, go ahead and light your tunneled candle. Next, tear off a piece of aluminum foil and fashion a sort of collar or tent that wraps around the top of the candle jar. You'll want to leave an opening in the middle so the flame has enough oxygen to breathe. Fold the foil over the jar's edges and crimp it a little to keep it snug. This simple setup directs heat downward and outward, melting those persistent wax cliffs. For a typical 8-ounce candle, you might need to leave the foil on for about an hour or two. Just keep an eye on it until the entire top surface has melted into an even pool of liquid wax.
But before you start, a quick reminder about wick care is essential for any good burn. Trimming your wick is a simple but critical step.
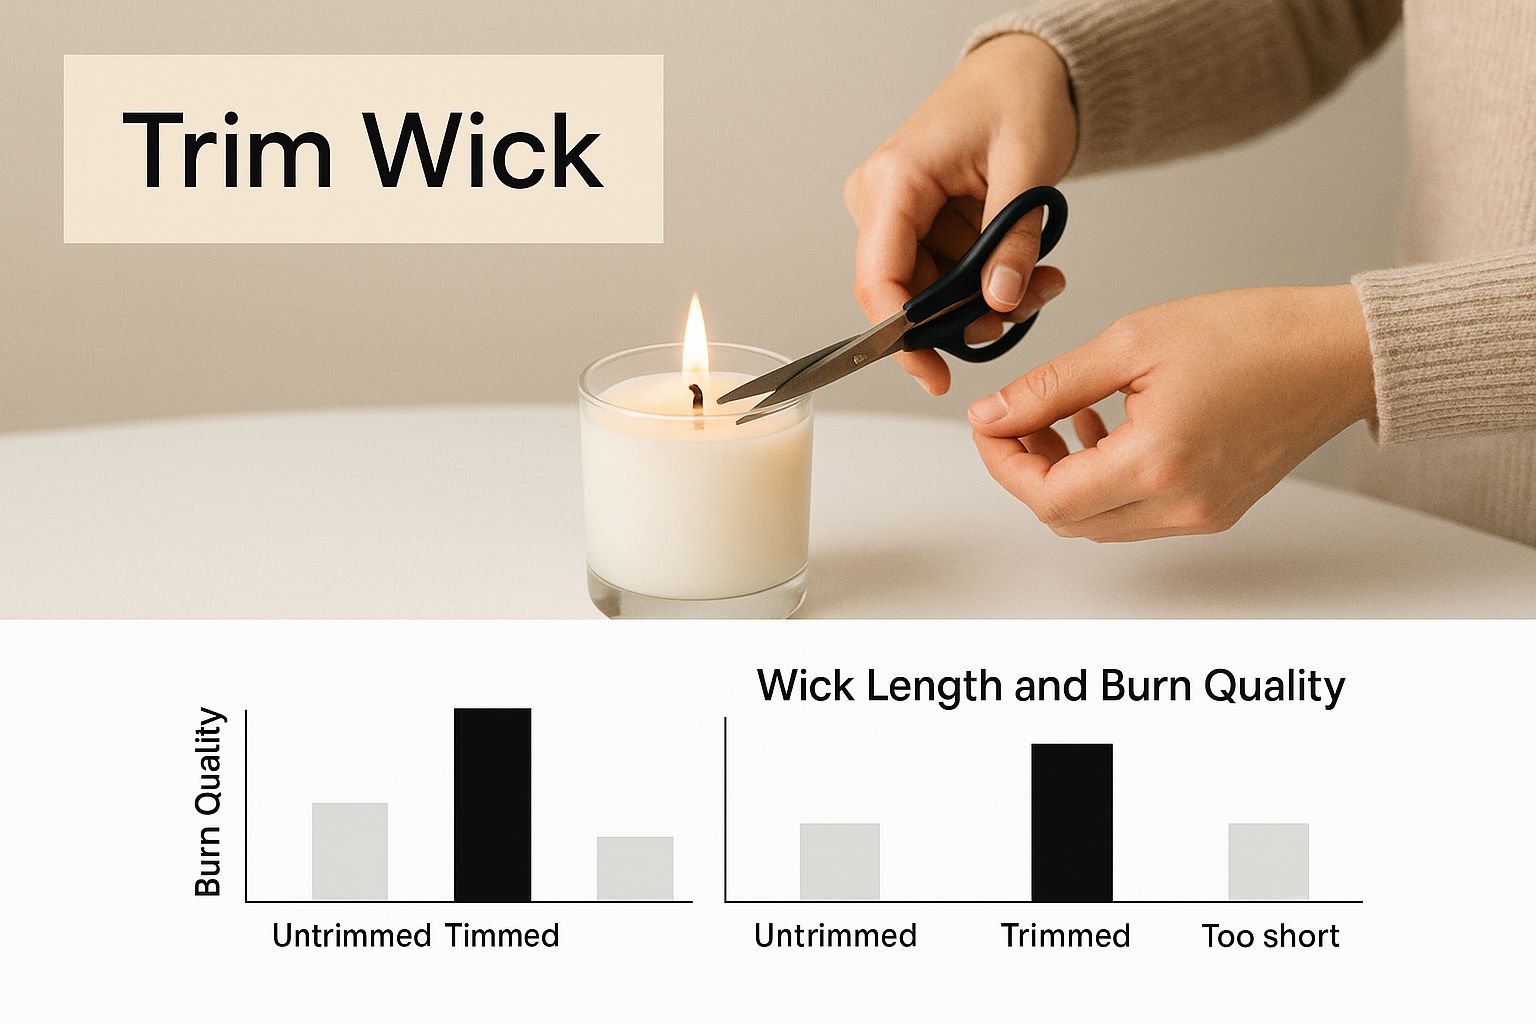
Making sure your wick is trimmed to about 0.5 cm is key. This prevents the flame from getting too large and smoky, which is especially important when using the foil method to ensure the heat is controlled and gentle.
Common Mistakes and Safety
While this foil trick is fantastic, there are a couple of things to look out for to make sure it works perfectly and safely.
- Don't wrap the foil too tightly over the top opening. If you choke off the oxygen supply, the flame will go out.
- Never leave a burning candle unattended. This is always true, but it's extra important when you've added foil, as both the foil and the glass jar can become quite hot to the touch.
Once the wax pool has completely evened out, you can carefully take off the foil—use tongs or an oven mitt if it feels too hot. Let the candle burn normally for a bit longer to solidify this new, even memory before you extinguish it. This simple reset can prevent the same tunneling problem from happening again.
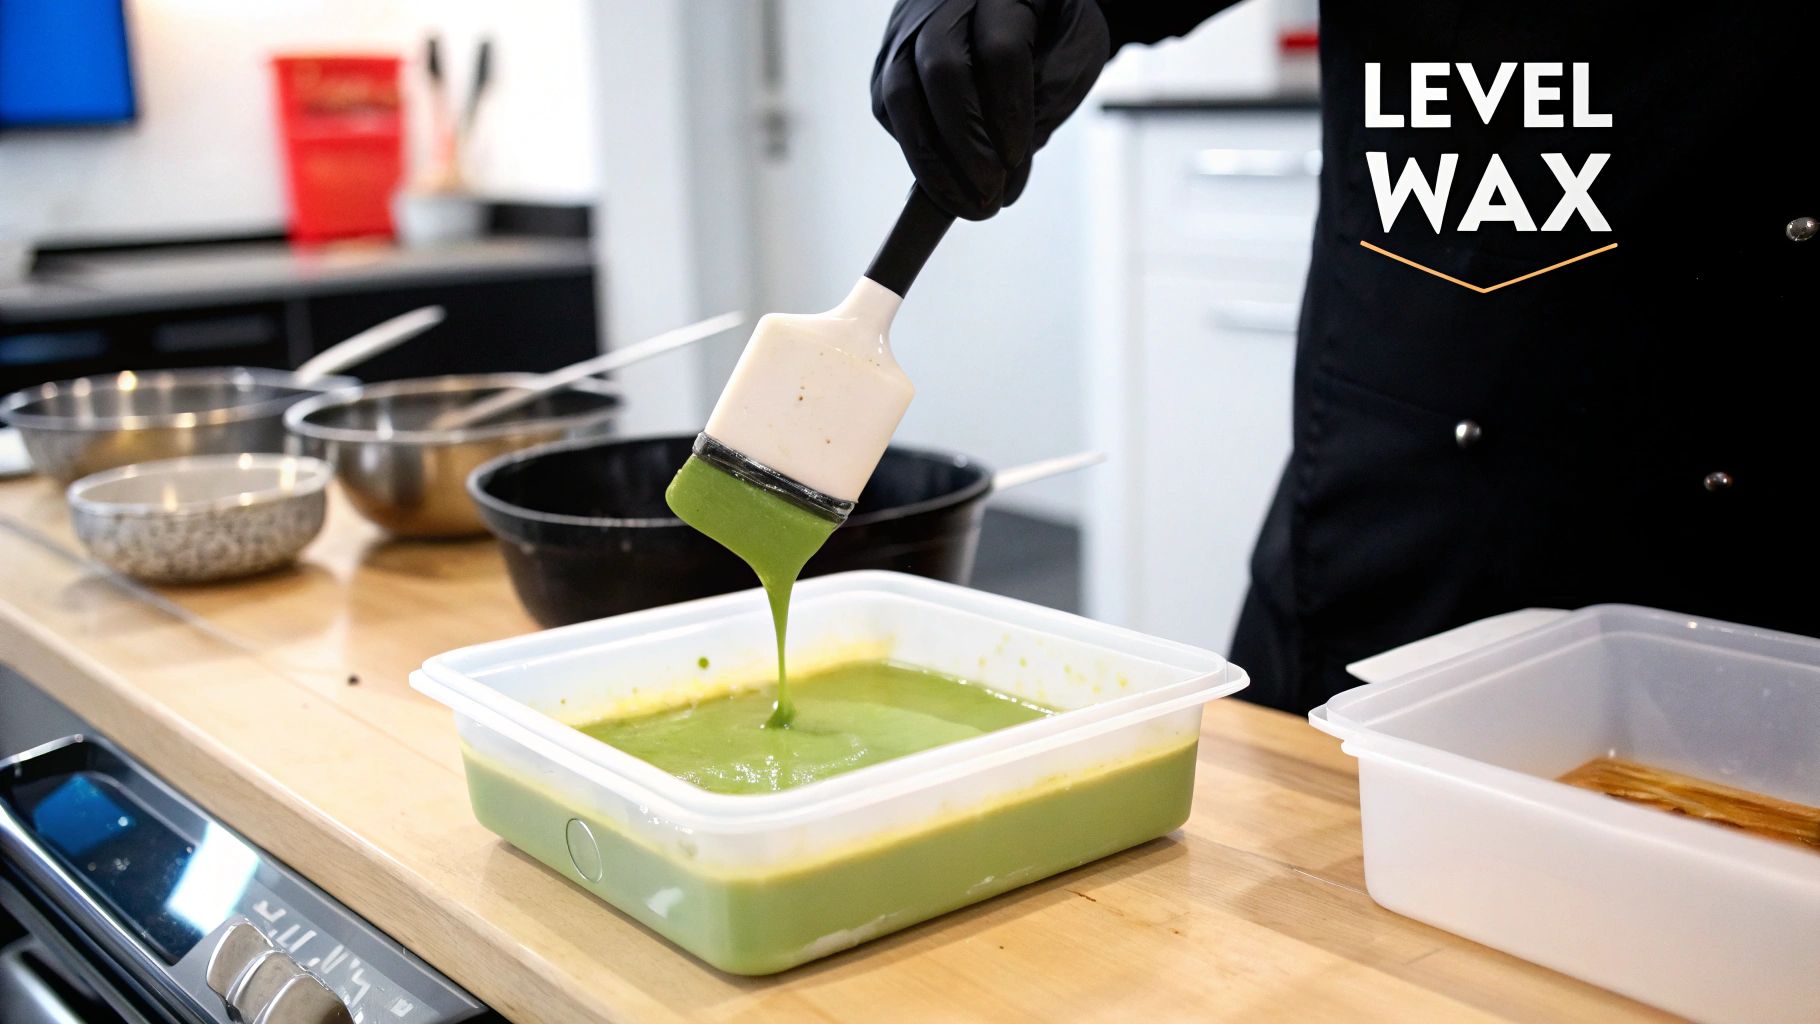
Heat Gun and Hair Dryer Techniques for Stubborn Cases
When the foil trick isn't quite enough to rescue a severely tunneled candle, it might be time to bring in some more direct heat. A hair dryer or even a craft heat gun can be your secret weapon for fixing that stubborn wax buildup. This might sound a little intense, but it's a method professional candle makers often use to get a problematic burn back on track. The key is to apply the heat carefully and evenly, melting the hard wax walls without scorching the wax or overheating the jar.
Grab your hair dryer and set it to a medium or low heat setting. Hold it several inches from the candle jar and move it in a slow, constant circle. You want to aim the warm air directly at the built-up wax on the sides. Make sure you don't hold it in one spot for too long, as this can create a hot spot on the glass and risk a crack. Your goal is to gently coax that hard wax to melt down into the middle, leaving you with a perfectly even surface.
Safety and Technique Reminders
If you're using a craft heat gun, remember that it gets much hotter, so you'll need to be extra cautious. Always start on the lowest possible setting and keep the tool moving at all times. Here are a few essential tips to make sure your rescue mission is safe and successful:
- Protect Your Surfaces: Before you start, place your candle on a heat-resistant surface like a trivet or a silicone mat.
- Wick Management: After the wax has melted and levelled out, you might notice the wick is a bit submerged. Gently use a pair of tweezers to pull it straight and ensure it's centred. If there's too much melted wax, you might need to pour a tiny bit out to expose enough of the wick so it can be lit properly next time.
- Cool Down Completely: Once you're happy with the smooth, even surface, the most important step is to let the candle cool down completely before you even think about lighting it again. This allows the wax to reset with its new, even memory, which will help prevent tunneling in the future.
Prevention Strategies That Save Money and Frustration
Now that we’ve covered some rescue missions for a tunnelled candle, let’s talk about the best strategy of all: prevention. Stopping a candle from tunnelling before it even begins is the secret to saving not just your favourite scents, but your hard-earned money too. It all comes down to a few simple burning habits that will keep your candles looking and performing their best, from the first light to the final flicker.
Perfecting Your Burn Routine
The key to a perfect, even burn is consistency. This really just means paying a little attention to trimming your wick and how long you let your candle burn each time. It might sound simple, but consistent care makes a huge difference. In fact, studies show that people who trim their wicks to about 0.5 cm (¼ inch) and let their candles burn for at least a couple of hours per session can prevent tunnelling in up to 80% of cases.
Don't forget about your candle's environment, either. A sneaky draft from a vent or an open window can cause the flame to flicker and cool the wax on one side, leading to an uneven burn. By getting into these good habits, you’re setting your candle up for success every single time. For more tips from the pros, you can check out how major brands advise on basic candle care on their websites.
Following these practices doesn't just stop tunnelling; it also makes your candle smell amazing. When you have a full, even pool of melted wax, you get a much better scent throw, which is the term for how well the fragrance fills a room. If you're a true scent enthusiast looking to get the most out of every candle, you might find our guide on how to make candles smell stronger really helpful.
Small Adjustments, Big Impact
Here are a few practical tips you can easily work into your candle-lighting ritual:
- Mind the First Burn: This is the most important burn of your candle's life! Always let it burn long enough for the melted wax to reach all the way to the edges of the jar. A good rule of thumb is one hour of burn time for every inch of the candle's diameter.
- Give It Space: Keep your burning candle away from drafts, fans, and open windows. A steady, calm flame is what you're aiming for.
- Trim Before You Light: Make it a habit to trim the wick before every single burn. This small action prevents the flame from getting too large and smoky, ensuring a clean, even melt.
- Avoid Short Burns: If you only have 30 minutes to spare, it might be better to wait and light your candle later. Quick, short burns are the number one cause of those dreaded memory rings that lead directly to tunnelling.
Solving Other Candle Problems That Lead to Tunneling
 Sometimes, tunnelling isn't the only issue you're facing with your candle; it can actually be a sign of other problems. From a wick that seems to drown in its own wax to a flame that produces more smoke than scent, these issues are often connected. Understanding the root cause can save you a lot of frustration and help you figure out when a candle is worth the effort to fix.
Drowning Wicks and Excessive Smoke
A drowning wick, where the flame constantly sputters out, is a common headache. This usually happens when the melt pool becomes too deep, often a side effect of trying to fix a bad tunnel too aggressively. If this happens to you, carefully pour out a small amount of the liquid wax to give the wick more room to breathe.
On the other hand, excessive smoke and soot often mean your wick is too long or is being affected by a draft. This messy burn not only looks bad but also leads to an uneven melt—which is a direct path to tunnelling. A simple trim of the wick before each use can make a world of difference.
To help you troubleshoot some of the most common candle woes, we've put together a quick reference guide.
Common Candle Problems and Solutions
A comprehensive guide to identifying and solving the most frequent candle issues beyond tunnelling.
| Problem | Likely Cause | Quick Fix | Prevention |
|---|---|---|---|
| Drowning Wick | The melt pool is too deep, extinguishing the flame. Often from fixing a tunnel or an oversized wick. | Carefully pour out a small amount of liquid wax. | Avoid over-burning the candle. Ensure the first burn melts the wax to the edges. |
| Excessive Smoke/Soot | The wick is too long, or the candle is in a drafty area. | Extinguish the flame, let the wax cool, and trim the wick to 1/4 inch (6 mm). Move the candle away from drafts. | Always trim the wick before lighting and keep it away from open windows or fans. |
| Cracking or Pitting | The wax cooled too quickly after being poured or after burning. | This is mostly cosmetic and won't affect the burn. Continue to burn as usual. | Let candles cool at a normal room temperature, away from cold surfaces or drafts. |
| Mushrooming Wick | Carbon has built up on the top of the wick, creating a "mushroom" shape. | Extinguish the flame, let it cool completely, and pinch off the mushroomed top. | Trim your wick to 1/4 inch (6 mm) before every single burn. |
This table should help you quickly diagnose and address issues as they come up, ensuring you get the most out of every candle.
When to Fix and When to Quit
So, how do you know if a candle is genuinely defective versus just needing a change in your burning habits? If a candle tunnels despite a perfect first burn and proper wick care, the wick is likely too small for the container diameter—a manufacturing flaw. In these cases, it's worth contacting the maker.
However, issues like a drowning wick from a botched fix or minor tunnelling are often salvageable. A handy tool for salvaging poorly performing candles, and for avoiding soot altogether, is a candle warmer. It melts the wax evenly without a flame. For those curious about a flame-free experience, you might be interested in our guide on clean-burning candles, which explores different options for enjoying your favourite fragrances. Ultimately, knowing which battles to fight helps you get the most enjoyment out of your collection.
Professional Secrets for Home Candle Lovers
Have you ever wondered what a pro candle maker does when a candle starts to tunnel? Surprisingly, they rarely reach for the aluminum foil. Their real secret is focusing on the root cause: the delicate balance between the wick, the wax, and the container. The biggest takeaway isn't some clever fix; it's knowing that a well-crafted candle shouldn't tunnel in the first place.
Reading the Signs of a Quality Candle
Professionals can often spot a candle prone to tunneling just by looking at it. The biggest giveaway is wick sizing. A quality candle always has a wick that’s properly scaled to the diameter of its vessel. If you see a wide, three-inch candle with a single, skinny wick right in the middle, consider that a warning. That little wick probably can't generate enough heat to melt the wax all the way to the edges, no matter how long you let it burn.
Artisan makers are also meticulous about wax pool management. While they know the first burn is vital, they design their candles to form a full melt pool within a reasonable timeframe, usually two to three hours for a typical jar. They’ve learned that most user error comes from a lack of patience. In fact, data shows that 70% of new buyers don't burn their candles long enough on the first go, which creates that dreaded memory ring. However, once people learn the right technique, 90% report much better results. You can learn more about these helpful candle fix-it tips and see how tiny adjustments can make a huge impact.
A great candle will have a substantial, centred wick and come from a brand that provides clear burning instructions. These details are what separate reliable, premium candles from budget ones that often cut corners on testing. While a pricier candle might feel like a splurge, you're often paying for better performance and a frustration-free experience. Paying attention to these small but critical details is a key part of your candle experience, and you can explore more in our guide on top candle safety tips for a safe, cozy 2025.
Your Complete Candle Recovery Action Plan
Let's pull everything we've talked about into a straightforward plan. Think of this as your go-to guide for rescuing a struggling candle and making sure every new one burns beautifully from the start. Knowing what to do is half the battle; the other half is putting it into practice with confidence. This isn't just theory—it's about taking action to solve how to fix candle tunneling for good.
Assessing the Damage: To Save or Not to Save?
Before you start any rescue mission, take a good look at the candle. Is the tunnel pretty shallow, maybe from just one or two quick burns? If that's the case, the aluminum foil trick is your best first move and usually sorts things out within an hour or so. For those deeper, more stubborn tunnels where a lot of wax is clinging to the sides, you might need to bring in the big guns—a hair dryer or heat gun—to melt it down more directly.
But what if a candle tunnels on its very first burn, even after you gave it plenty of time for the wax to melt to the edges? That’s often a sign of a manufacturing issue, meaning the wick is probably too small for the jar. While you can still use a candle warmer to melt the wax and get that lovely scent, it’s never going to burn properly with a flame. It’s better to accept the situation and enjoy the fragrance without the fire.
Your Foolproof System for Perfect Burns
Now, let's create a simple routine to stop tunneling before it even starts. This is your new system for keeping every candle in perfect shape.
- The First Burn Commitment: This is the most important burn of a candle's life. You need to set aside enough time—at least 2-3 hours—to let the melted wax pool reach the very edge of the container.
- The Pre-Light Ritual: Make it a habit to trim the wick to about 0.5 cm before every single use. It’s a tiny step that makes a huge difference in preventing a smoky, uneven burn.
- The Smart Burn Session: Try to avoid lighting a candle when you only have half an hour to spare. These quick burns are the main culprit behind those frustrating memory rings. Aim for longer, more relaxed burning sessions instead.
- Create a Calm Environment: Always place your candle away from drafts, fans, and open windows. A steady, calm flame is a happy flame, and it leads to a much more even burn.
By pairing these rescue methods with a solid prevention strategy, you'll be ready to tackle any candle problem that comes your way. To get started with candles designed for a perfect burn right out of the box, you can explore the hand-poured, clean-burning collections at Shivora Candles.