
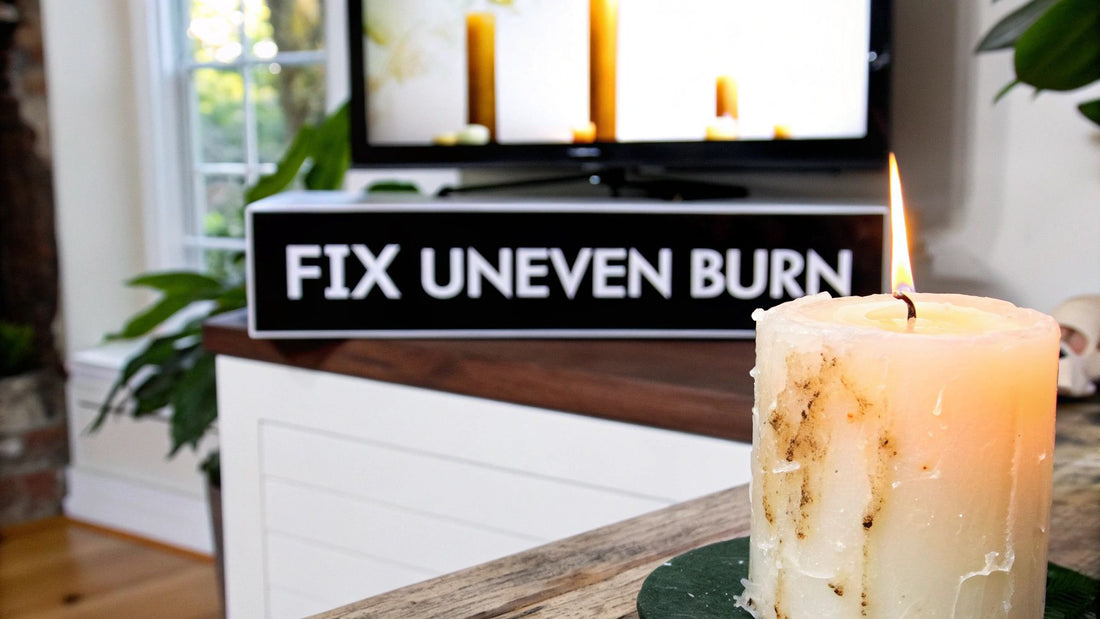
Why Is My Candle Burning Unevenly and How to Fix It
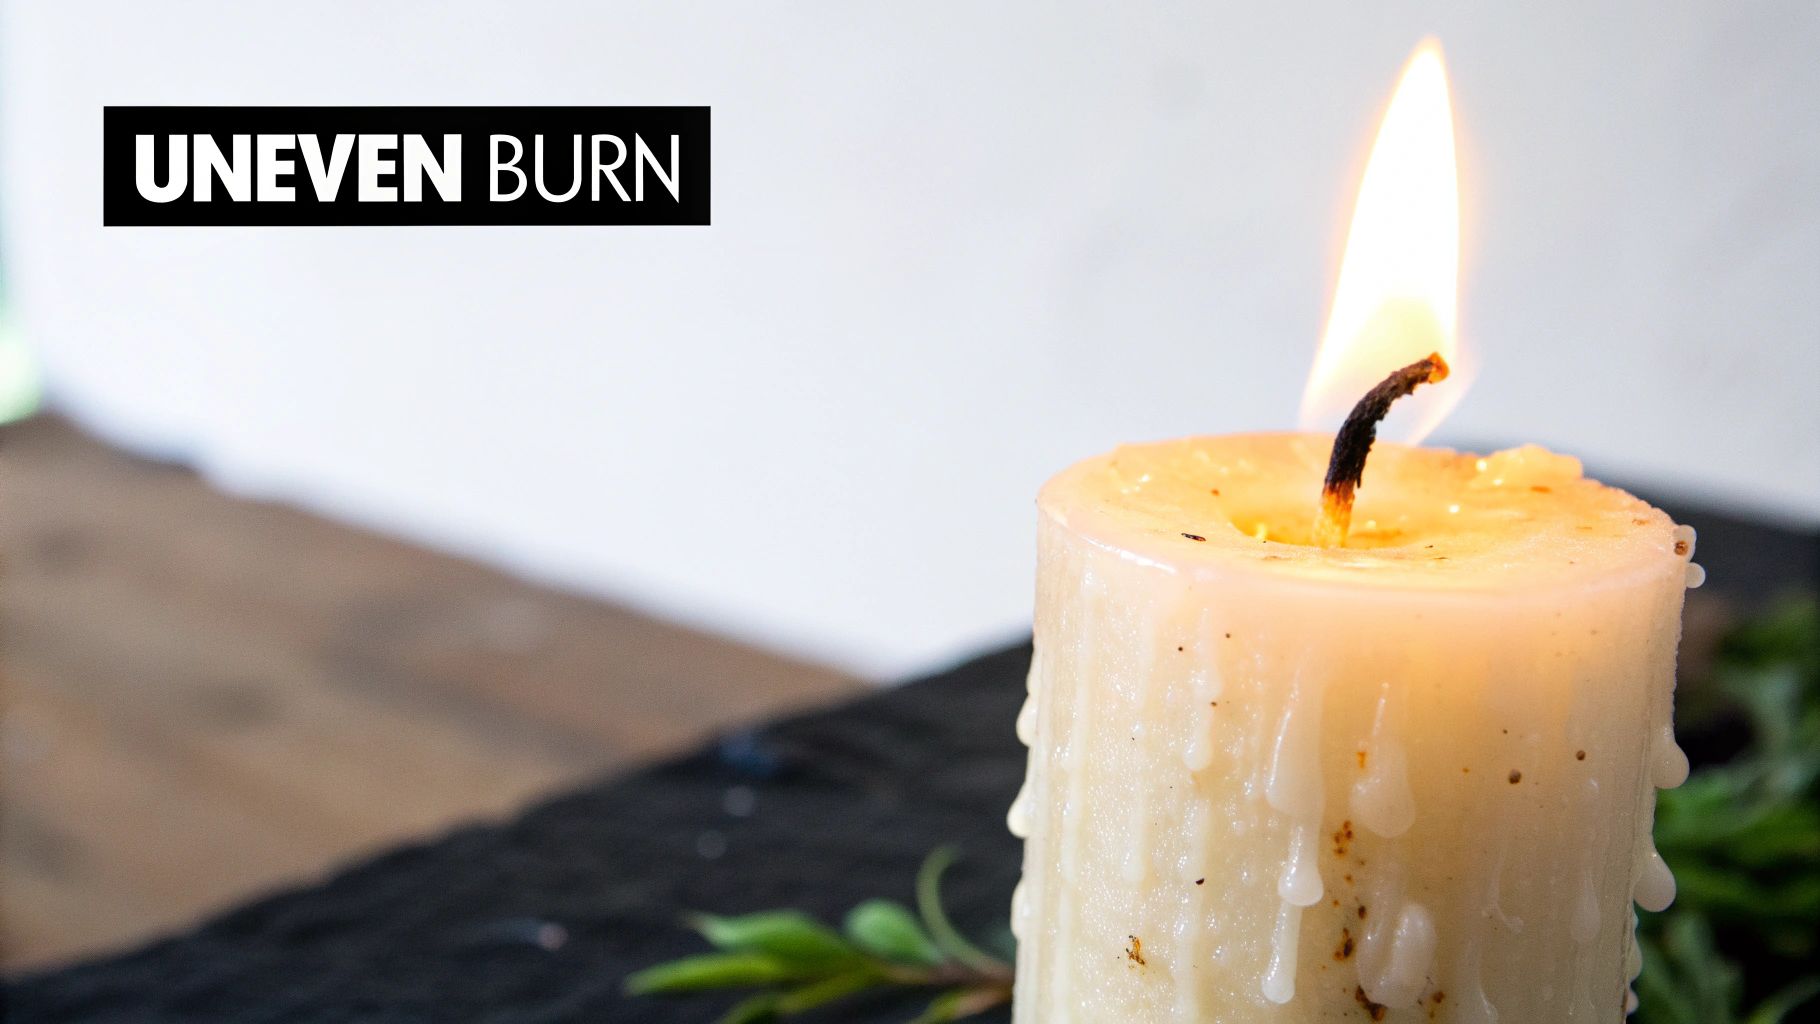
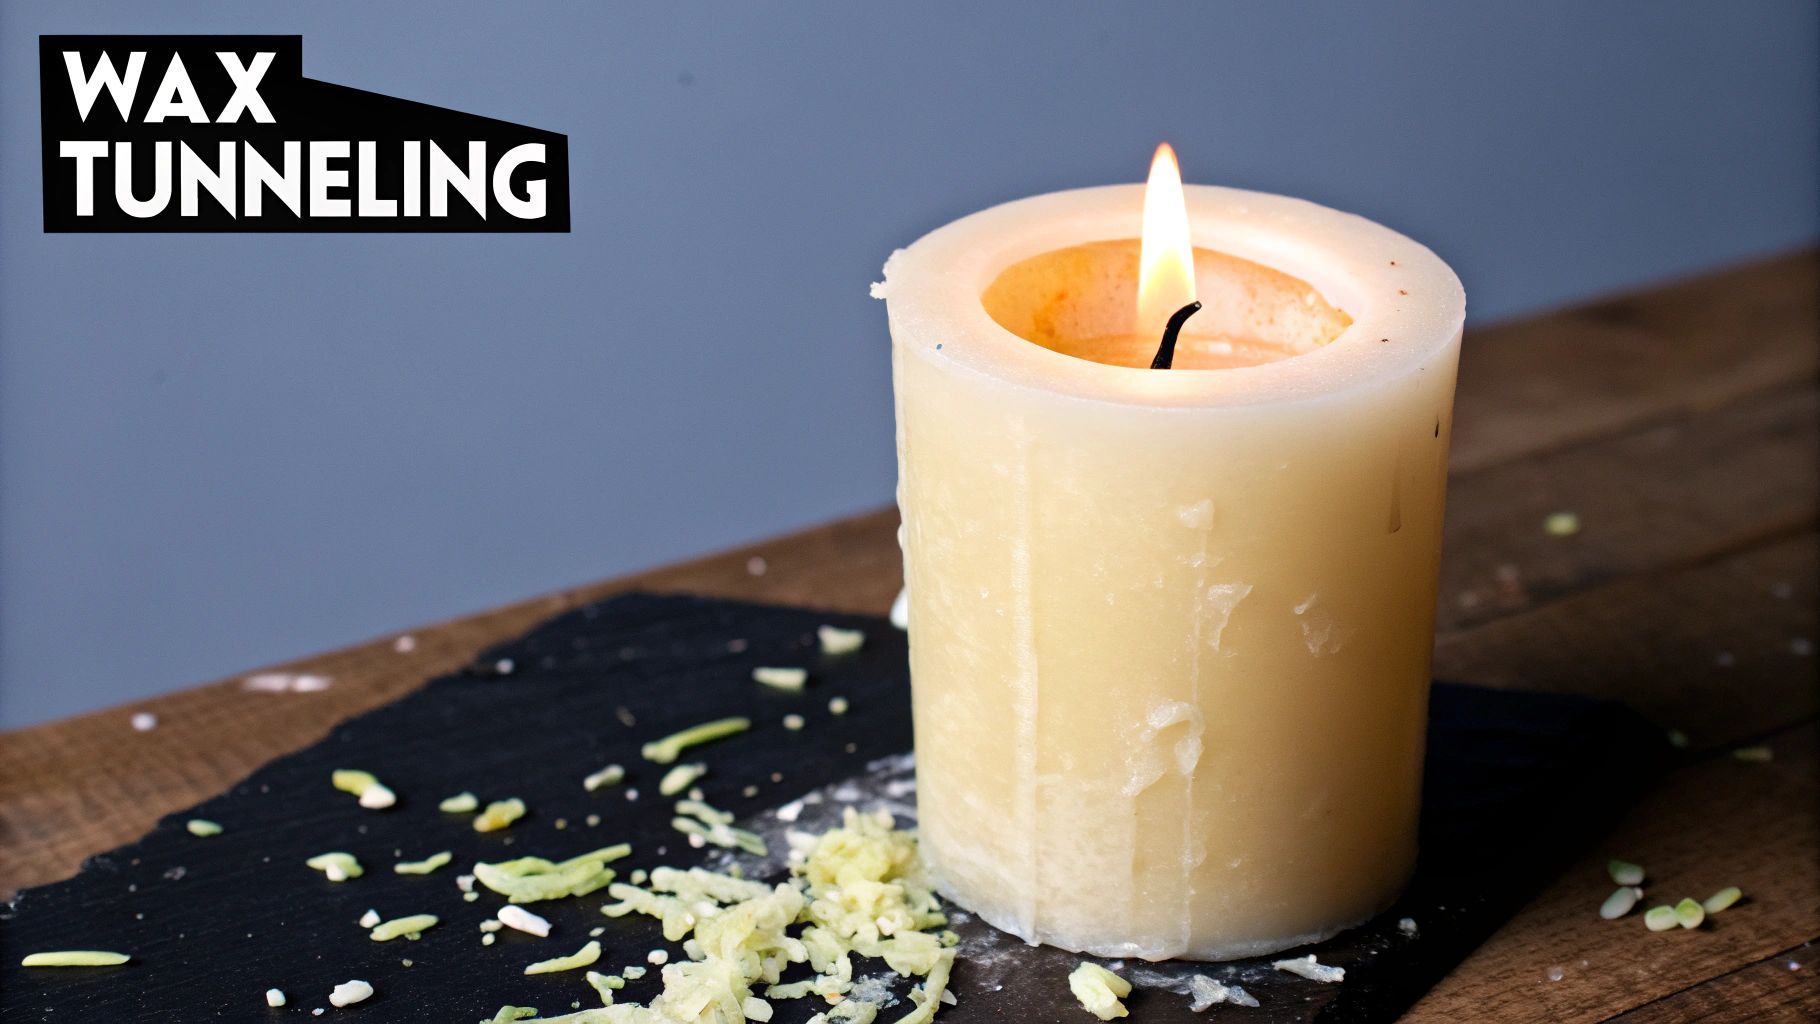
It's one of the most common frustrations for any candle lover: you light a beautiful, new candle, only to see it burn straight down the middle. This is called candle tunneling, and it leaves behind a thick, stubborn wall of unused wax along the sides of the jar.
Why Your Candle is Burning Unevenly
When this happens, you're not just getting a messy-looking candle; you're losing out on its full lifespan. All that wasted wax means you're also wasting the fragrant essential oils infused within it. You paid for the entire candle, so you deserve to enjoy every last bit.
So, what's really going on here? From my experience, the problem almost always boils down to one of three culprits. Understanding them is the key to preventing a lopsided burn from the get-go.
- The First Burn is Everything: This is the most crucial moment in a candle's life. If you don't let the wax melt all the way to the container's edges on that very first light, you're setting a "burn memory." The candle will remember that smaller diameter and tunnel down that same path every time you light it again.
- Wick Length Matters, A Lot: A wick that's too long creates a large, flickering flame that dances around. That instability doesn't just produce ugly black soot; it stops the heat from spreading evenly across the wax surface, leading to an inconsistent melt.
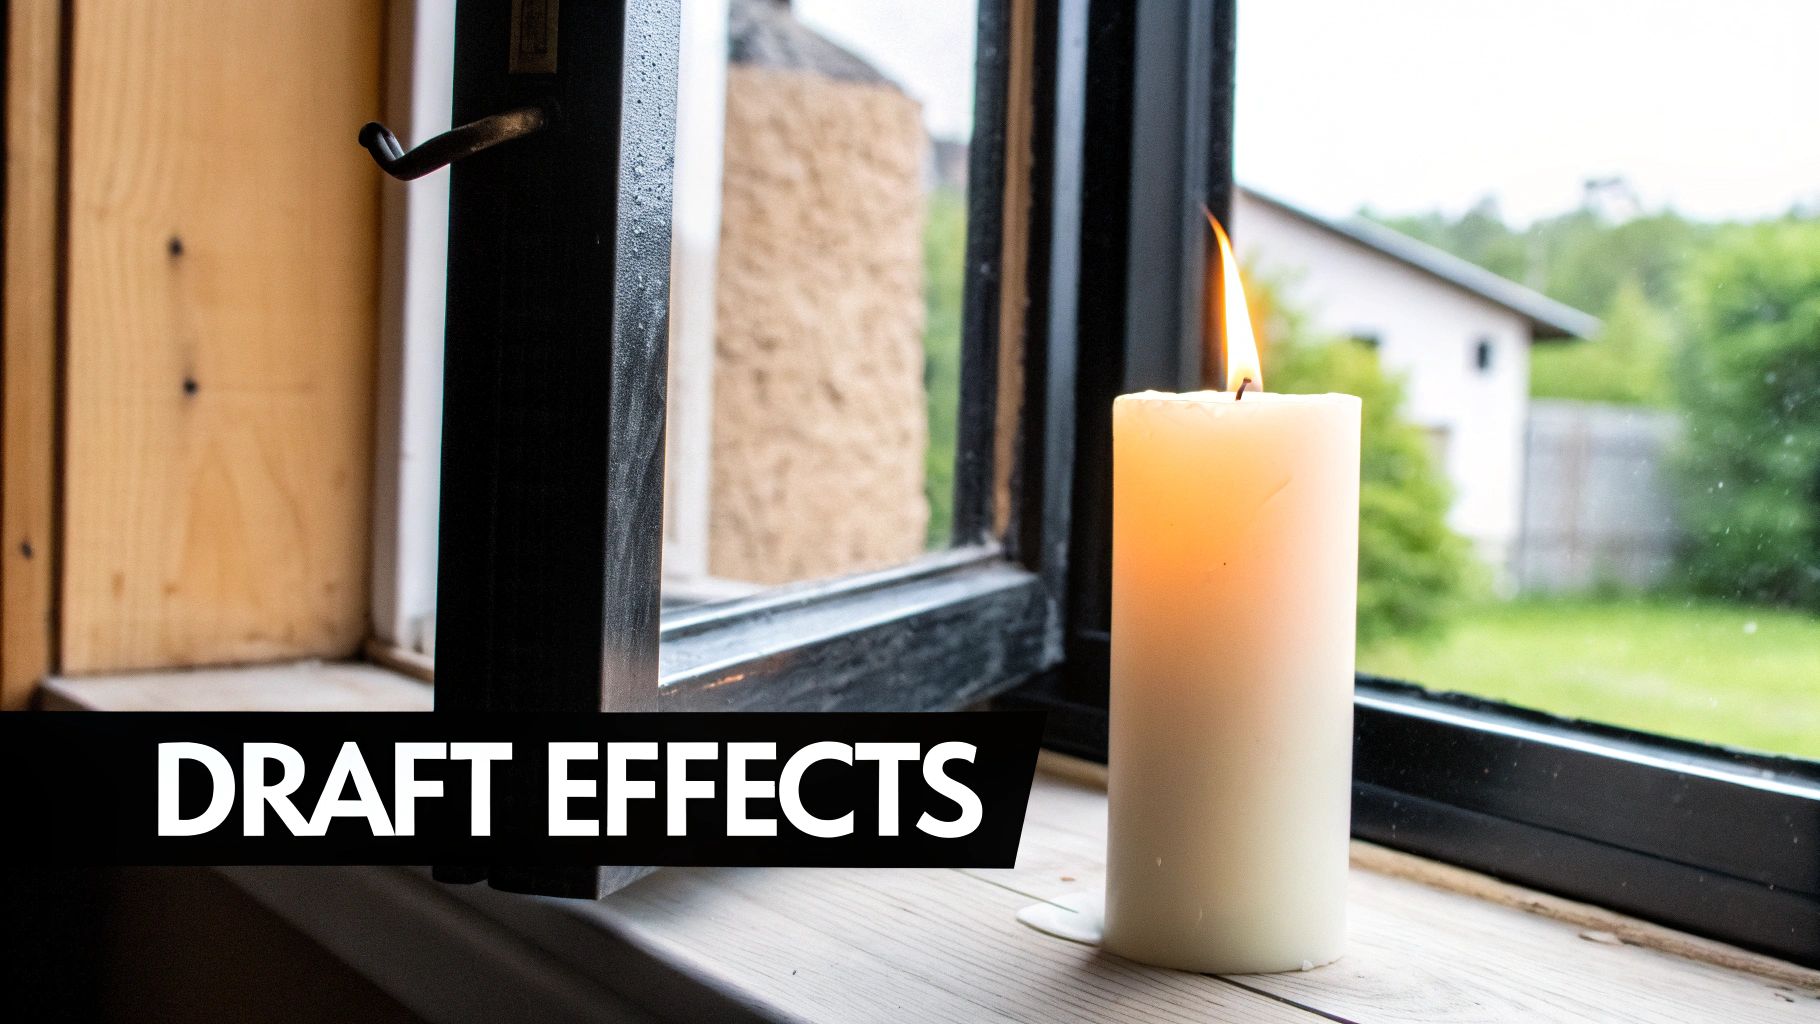
- Watch Out for Drafts: Even a subtle breeze from an open window, a fan, or a busy hallway can make a flame lean to one side. This lopsided heat melts the wax on one side much faster, leaving the other side completely solid.
Proper candle care isn't just about getting your money's worth. It’s also about home safety. A flickering, unstable flame from a long wick or a draft is a potential fire hazard, which makes these simple habits incredibly important.
A Quick Guide to Diagnosing the Problem
To help you figure out what’s going wrong, I've put together a quick reference table. It covers the most common issues I see and how to fix them on the spot.
Common Causes of Uneven Burning and Quick Fixes
| Problem | Primary Cause | Quick Fix |
|---|---|---|
| Tunneling | The first burn was too short, preventing a full melt pool. | Let the candle burn until the melted wax reaches the container's edge. |
| Soot on Glass | The wick is too long, causing a large, smoky flame. | Extinguish the flame, let the wax cool, and trim the wick to 1/4 inch (6mm). |
| Melting on One Side | The candle is in a drafty area or on an uneven surface. | Move the candle to a draft-free location on a completely level surface. |
| Drowning Wick | The wick is too short and gets extinguished by melting wax. | Carefully remove a small amount of liquid wax from around the wick. |
Once you get the hang of spotting these issues, you can stop uneven burning before it even starts. The rest of this guide will walk you through exactly how to master these techniques, ensuring every candle you own burns cleanly and evenly, right down to the very end.
Why the First Burn Is the Most Important
If there's only one thing you remember from this guide, make it this: the very first time you light a new candle is the most critical moment in its entire life. Seriously. This initial burn sets the pattern for every single one that follows. It's all about creating what's known as “burn memory” in the wax.
Think of candle wax as having a memory. When you first light it, the boundary of the melted wax pool becomes a permanent blueprint. If you blow it out too early, before the liquid wax has reached the very edges of the container, you’ve just told the candle to only ever burn that wide.
This is exactly how candle tunnelling starts. The next time you light it, the wax will only melt up to that original, smaller ring. It’s a vicious cycle because the previously melted wax is softer and melts faster than the hard, untouched wax around the sides. With each burn, that tunnel gets deeper and deeper, wasting all that lovely scented wax stuck to the glass.
Creating the Perfect First Melt Pool
To avoid tunnelling, your goal on that first burn is simple: achieve a full melt pool. This just means letting the candle burn long enough for the entire top layer to become liquid, from edge to edge. A perfect melt pool establishes a wide, even burn memory, setting your candle up for a long and happy life.
So, how long does that take? A pretty solid rule of thumb is to let it burn for one hour for every inch of its diameter.
- A 2-inch diameter candle? Aim for about 2 hours.
- A 3-inch diameter candle? Give it around 3 hours.
- A 4-inch diameter candle? You're looking at 4 hours.
This isn't an exact science, of course. Things like the type of wax or the temperature of your room can speed things up or slow them down. Our Shivora soy candles, for instance, are poured to melt very cleanly. Still, that simple calculation is a fantastic starting point for almost any candle you buy.
The clock is a guide, but your eyes are the real judge. Don't even think about extinguishing the flame until you see a clear, shimmering layer of liquid wax that touches every side of the jar. Resisting that urge to blow it out early is the absolute key to a perfect burn, every time.
Best Practices for the First Burn
Getting that first burn right involves a little more than just watching the clock. A few small details can make a massive difference in preventing an uneven burn right from the start.
Prepare the Candle Properly Before you even reach for a lighter, take a moment to set up. Make sure your candle is sitting on a completely flat, heat-resistant surface. Even a tiny slant can cause the melted wax to pool to one side, leading to a lopsided burn. Also, give that wick a quick trim to about 1/4 inch (6mm).
Choose the Right Environment Find a spot for your candle that's free from drafts. A breeze from an open window, a ceiling fan, or even just a high-traffic hallway can make the flame dance and flicker. This instability pushes the heat unevenly, preventing the wax from melting across the whole surface and undoing all your patient work to get that perfect first melt pool.
The Simple Habit of Trimming Your Candle Wick
While that first burn is crucial for setting your candle's "memory," there's a simple habit that makes all the difference for every light after that. I'm talking about trimming the wick. It’s a step so many people skip, but honestly, it's one of the biggest reasons candles start to tunnel, smoke up, or create a flame that's way too high.
Ever notice that little "mushroom" top on a wick after it's been burned? That's a buildup of carbon and soot. When you light a wick with that on top, you get a big, unstable flame that dances around wildly. Instead of gently melting the wax from edge to edge, this oversized flame burns through the wax way too fast and unevenly. It's a surefire way to get tunnelling and those ugly black stains inside your favourite candle jar.
Achieving the Perfect Wick Length
So what's the sweet spot? Before you light your candle—every single time—you want to trim that wick down to about 1/4 inch (or roughly 6mm). A short, clean wick produces a small, controlled flame. This is exactly what you want.
A controlled flame provides steady, even heat that radiates across the entire surface of the wax. The result is a full, consistent melt pool that reaches the edges of the container. Not only does this stop tunnelling in its tracks, but it also dramatically extends the life of your candle by making sure the wax is used slowly and efficiently. Think of it as essential maintenance.
The Right Tools for the Job
You don't need a whole workshop of tools, but having the right one makes this a lot less fussy.
- Wick Trimmers: These are my go-to. They’re designed with long handles and an angled head, which lets you get deep into jars for a clean cut. The best part? They have a little tray that catches the snipped-off bit, so you don't drop soot all over your nice, clean wax.
- Nail Clippers or Small Scissors: If you don't have a wick trimmer, these work just fine in a pinch. The only trick is to tip the candle on its side before you snip, so the burnt clipping falls out instead of onto the wax.
My best piece of advice is to always trim the wick when the candle is completely cool and the wax is solid. If you try to do it while the wax is still warm and soft, you can make a real mess and even damage the wick. Just make it a habit: trim, then light.
It's also possible to go a little too far and trim the wick too short. You'll know this happened if the flame struggles to stay lit and gets "drowned" by the melting wax. If you find yourself in this situation, don't panic. Just blow out the candle and use a bit of paper towel to carefully soak up some of the liquid wax around the base of the wick. This gives it the space it needs to breathe.
Taking those five extra seconds to trim your wick is probably the single most effective thing you can do to guarantee a perfect, clean, and safe burn every time.
How to Rescue a Badly Tunneled Candle
It's a frustrating sight for any candle lover: your favourite scented candle is burning straight down the middle, creating a deep pit and leaving a thick wall of perfectly good, unused wax along the sides. This is what we call candle tunneling, and it happens when a candle is burning unevenly. But don’t toss it just yet—you can absolutely save a tunneled candle with a couple of clever tricks.
Think of it as a little candle rescue mission. The most common and effective fix is surprisingly simple and uses something you definitely have in your kitchen: aluminum foil. This method essentially turns the top of your candle into a mini-oven, trapping heat and directing it downward to melt that stubborn ring of hard wax.
The Aluminum Foil Method
First, grab a piece of aluminum foil and wrap it around the top of your candle jar, forming a dome-like lid. Make sure to crimp it securely around the rim so it stays put. Next, carefully cut a hole in the centre of the foil, about one to two inches wide, right over the wick.
Now, light your candle like you normally would. The foil captures the heat from the flame, reflecting it back down onto the hardened wax “walls” of the tunnel. This slowly and gently melts the built-up wax, letting it pool with the liquid wax in the middle and resetting the entire surface.
Safety First: This technique demands your undivided attention. Never leave a candle unattended, especially with the foil on top, as both the foil and the jar can get extremely hot. Let it burn for an hour or two—just long enough for the entire top layer of wax to become liquid and even.
If you want a deeper dive into fixing this pesky problem, you can learn more about how to fix candle tunneling in our complete guide, which has even more tips for different situations.
This visual breakdown shows a simple, three-step process for preventing uneven burning in the first place, focusing on wick trimming, the crucial first burn, and rotation.
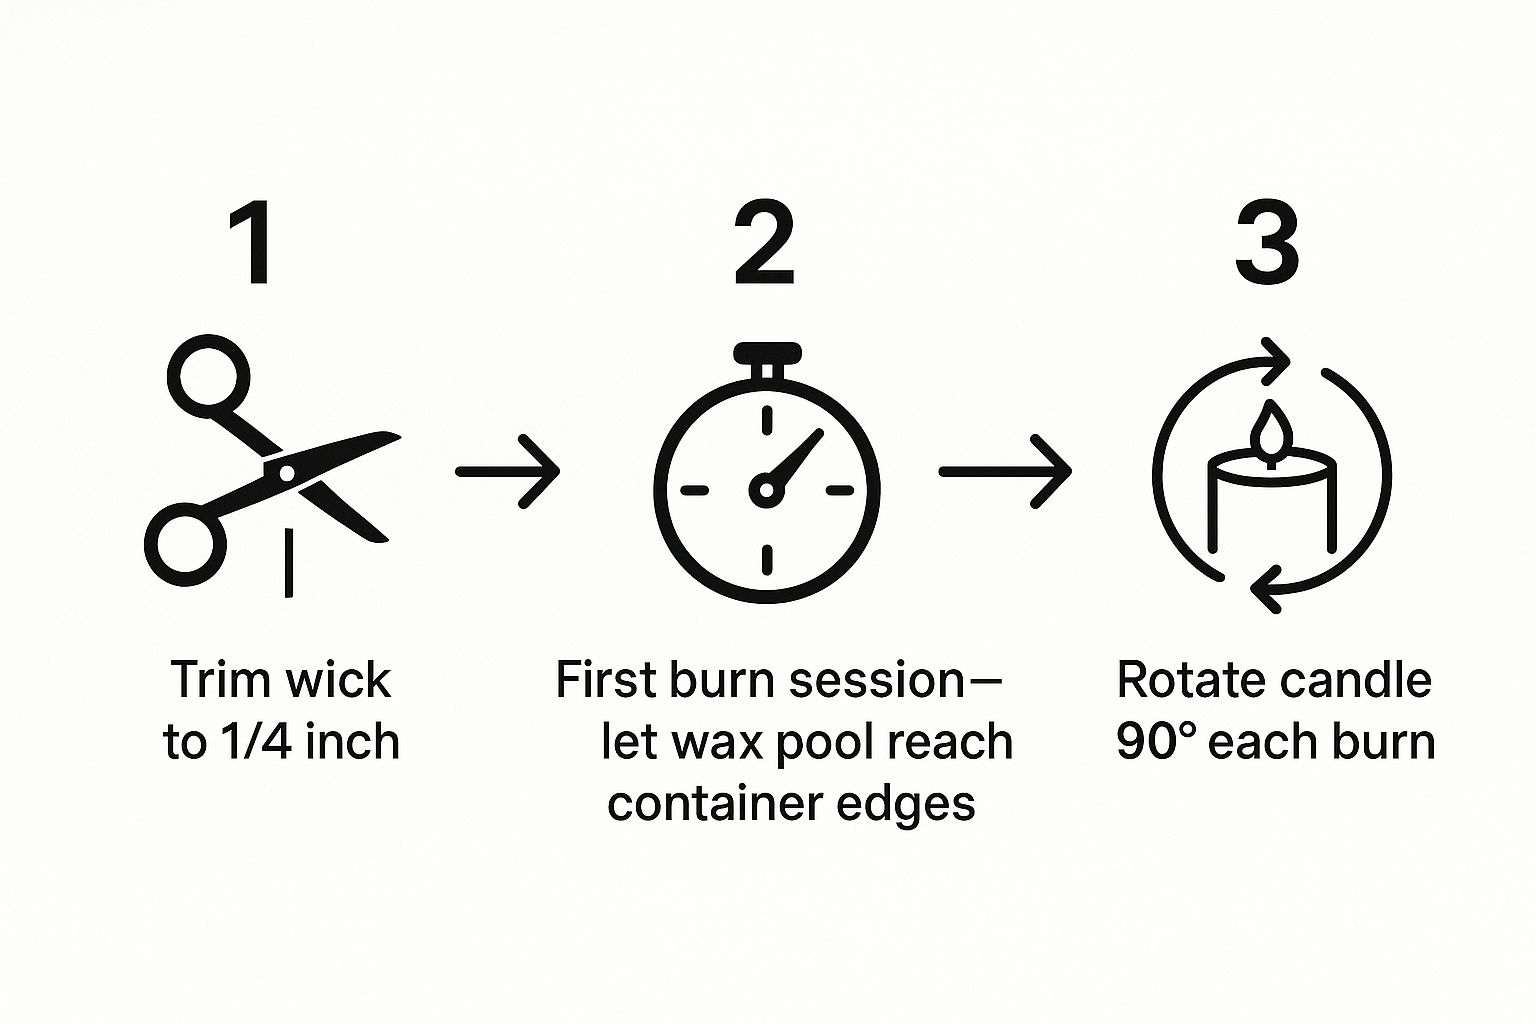
The biggest takeaway here is that prevention is always best. Small, consistent habits like trimming the wick and giving your candle a proper first burn are what will make it last.
Other Rescue Techniques
If the foil trick doesn’t feel right for you or the tunnel has become incredibly deep, don't worry. There are a couple of other ways to fix a candle that’s burning unevenly.
- Use a Heat Gun or Hair Dryer: Set your tool to low heat and carefully point it at the excess wax clinging to the sides of the jar. Keep the heat source moving so you don’t overheat any single spot. You just want to gently melt the wax until you have a nice, level surface again.
- Scrape Down the Wax: When a tunnel is really severe, sometimes the best approach is manual. Use a butter knife or a small spoon to carefully scrape the hard wax from the sides. You can throw these shavings away, or better yet, pop them into a wax warmer to get every last bit of fragrance. Once you’ve leveled the surface, your next burn should be much cleaner.
These troubleshooting tools can turn a frustrating, wax-wasting problem into a satisfying fix, helping you reclaim the full life and scent of your favourite candle.
How Your Environment Affects the Burn
You can do everything right—trim the wick perfectly, nail the first burn—but still end up with a lopsided, tunnelling candle. If you've tried everything else and your candle is still burning unevenly, it's time to look at the room itself. More often than not, the culprit is something in the environment sabotaging that beautiful, steady flame.
The most common offender? A draft. We're not just talking about a gust from an open window. Even subtle air currents from a ceiling fan, an air conditioning vent, or just people walking by can make a candle flame flicker and dance. When that flame leans to one side, it directs all its heat there, causing the wax to melt much faster on one side than the other. That’s how you get that frustrating uneven slope.
Finding the Right Spot for Your Candle
The trick is to find a sheltered spot for your candle, away from any moving air. Before you even strike a match, try holding your hand near the surface where you plan to place it. You might be surprised to feel a slight draft you hadn't noticed before. A calm flame is a happy flame, and a happy flame is what gives you that perfect, even melt pool.
Just as important is the surface your candle is sitting on. It needs to be level and heat-resistant. A table that’s even slightly tilted will cause the melted wax to pool on the lower side, starving the wick on the other end and guaranteeing an uneven burn. A wobbly surface isn't just a hazard; it’s a direct threat to a clean, even burn.
A candle’s surroundings are just as important as its maintenance. Think of the environment as the final piece of the puzzle for achieving a perfect, even burn from top to bottom.
This isn’t just about getting your money’s worth from the wax; it’s about safety. While there isn't specific data for uneven candle burns in Canada, national fire statistics highlight the risks of any open flame. Little things, like an unstable surface or a draft pushing a flame too close to something flammable, can have serious consequences. For instance, the National Fire Protection Association reports that candles cause an estimated 23,600 residential fires in the U.S. annually. This really drives home how a small, seemingly harmless heat source needs our full attention.
Key Environmental Checks for an Even Burn
So, before you light up your favourite scent, run through this quick mental checklist. It only takes a second and makes all the difference.
- No Drafts: Is the candle away from open windows, fans, vents, or busy hallways where people walk past frequently?
- Level Surface: Is the countertop or table completely flat and stable? No wobbling allowed.
- Clear Space: Is there at least one foot of clearance around the candle, away from things like curtains, books, or blankets?
By taking a moment to control these external factors, you're setting your candle up for success. It allows the high-quality ingredients to do their job properly. To understand why that matters, take a look at our guide on what makes clean burning candles so effective. Ultimately, managing your candle’s environment is a simple but powerful step toward ensuring every burn is as beautiful and safe as the last.
Common Questions About Uneven Burning Answered
Even when you do everything right, sometimes a candle just doesn’t want to cooperate. An uneven burn can be frustrating, but the good news is that most of these problems are surprisingly easy to fix. Let's tackle some of the most frequent questions I hear.
Think of this as your go-to troubleshooting guide for those head-scratching moments. I'll give you straight, practical answers to get your candle back on track.
Can You Fix a Tunneled Candle Without Lighting It?
Yes, you definitely can! In fact, fixing a tunnel without a flame is often the safer way to go. The best trick I've found is to use a heat gun or even just a hair dryer on its lowest, hottest setting.
Carefully aim the warm air at the top of the candle, moving it in slow circles. You're just trying to gently melt the hard wax clinging to the sides. Once it all liquefies and creates a single, level pool, you're done. This gives your candle a fresh start. If you don't have a heat tool, you can also use something like a butter knife to carefully scrape the excess wax from the sides and discard the shavings.
The whole point is to create a flat, even surface again. This ensures that the next time you light it, the wick can melt the wax all the way to the edge, preventing the tunnel from coming back.
Why Is My Multi-Wick Candle Burning Unevenly?
Ah, the beautiful but sometimes tricky multi-wick candle. If your two or three-wick candle is burning unevenly, the most common culprit is that not all wicks were lit every single time. It's absolutely crucial to light all the wicks together, every single time you burn it, especially for that all-important first burn.
For a multi-wick candle to burn correctly, the little melt pools from each wick need to join up and form one big, unified pool across the entire surface. If you only light one or two, you’re basically creating several small tunnels at once.
Also, make sure you're trimming all the wicks to the same height—about 1/4 inch or 6mm—before each use. This helps them burn at the same rate and keeps the heat distributed evenly.
Is a Little Bit of Wax on the Side Normal?
It's perfectly normal to see a very thin layer of wax left on the sides of the glass. We call this "hang-up," and you'll usually notice it more during the first half of the candle's life. Don't worry about it.
As the flame burns deeper into the jar, the container itself holds more heat. This extra warmth usually melts that thin, stubborn layer away, so the candle essentially cleans the glass as it goes. A well-made candle should use up almost all its wax by the time it's finished.
However, if you’re seeing thick, solid walls of unmelted wax, that's a clear sign of tunneling that needs fixing with one of the methods we just talked about. Proper care not only makes your candles last longer but is also a key part of safety. You can brush up on our top candle safety tips for a safe and cozy home to learn more about enjoying your candles responsibly.
At Shivora Candles, we believe in creating products that burn beautifully and safely from the first light to the last. Explore our collection of hand-poured soy wax candles and find your perfect scent at https://shivoracandles.com.