
Soy Candle Wax for Candle Making: Your Complete Guide
Using soy candle wax for candle making has quickly become the go-to for crafters, and for good reason. It’s a natural, renewable resource that burns cleaner and lasts longer than old-school paraffin wax. Plus, its lower melting point makes it a much safer and more forgiving material to work with, which is a huge bonus whether you're just starting out or you’re a seasoned pro.
Why Crafters Are Choosing Soy Wax
Before you even think about melting a single flake, it’s worth taking a moment to understand why the candle making community has fallen in love with soy wax. This isn't just some fleeting trend; its popularity is built on real, tangible benefits that appeal to creators and customers who care about quality and sustainability.
A huge part of its appeal comes from its origin story. Soy wax is made from soybeans, a completely renewable resource. This makes it a fantastic, eco-friendly alternative to paraffin wax, which is a byproduct of petroleum. For many of us, choosing soy is a conscious decision to create a product we can feel genuinely good about.
A Cleaner and Longer Burn
Beyond its green credentials, soy wax simply performs better. One of its standout features is the incredibly clean burn. You know that black soot that can build up on the inside of a candle jar or even on your walls? That’s far less of an issue with soy wax, which produces next to no soot compared to paraffin.
This means a healthier environment in your home and a much cleaner look for your finished candles. On top of that, soy wax has a lower melting point. This isn't just a safety perk; it directly results in a slower, more even burn from your candle.
A candle made from soy wax can last up to 50% longer than a paraffin candle of the same size. This extended burn time gives you more bang for your buck and lets you enjoy your handcrafted scents for that much longer.
Forgiving for Beginners and Professionals
From a hands-on perspective, soy candle wax for candle making is wonderfully forgiving to work with. Its creamy texture and lower melt point make it easier to handle, and if you have a spill, cleanup is a breeze. A little soap and hot water are all you need, which is a world away from scraping up stubborn paraffin residue.
This user-friendly nature makes it the perfect starting point for anyone new to the craft. If you're curious to learn more, you can dive into the https://shivoracandles.com/blogs/news/top-5-benefits-of-soy-wax-candles.
The demand for sustainable products is bigger than ever. In 2023, North America accounted for a massive 40% revenue share of the global soy-based candle market. This huge regional demand is driven by a clear preference for biodegradable materials and a cleaner burn that helps reduce indoor air pollution.
Choosing the Right Soy Wax for Your Project
Think of choosing soy wax like a chef picking ingredients—the quality of what you start with defines the final product. Not all soy waxes are the same, and your choice will have a huge impact on everything from how your candle looks to how well it fills a room with fragrance.
Pure Soy vs. Soy Blends: What's the Difference?
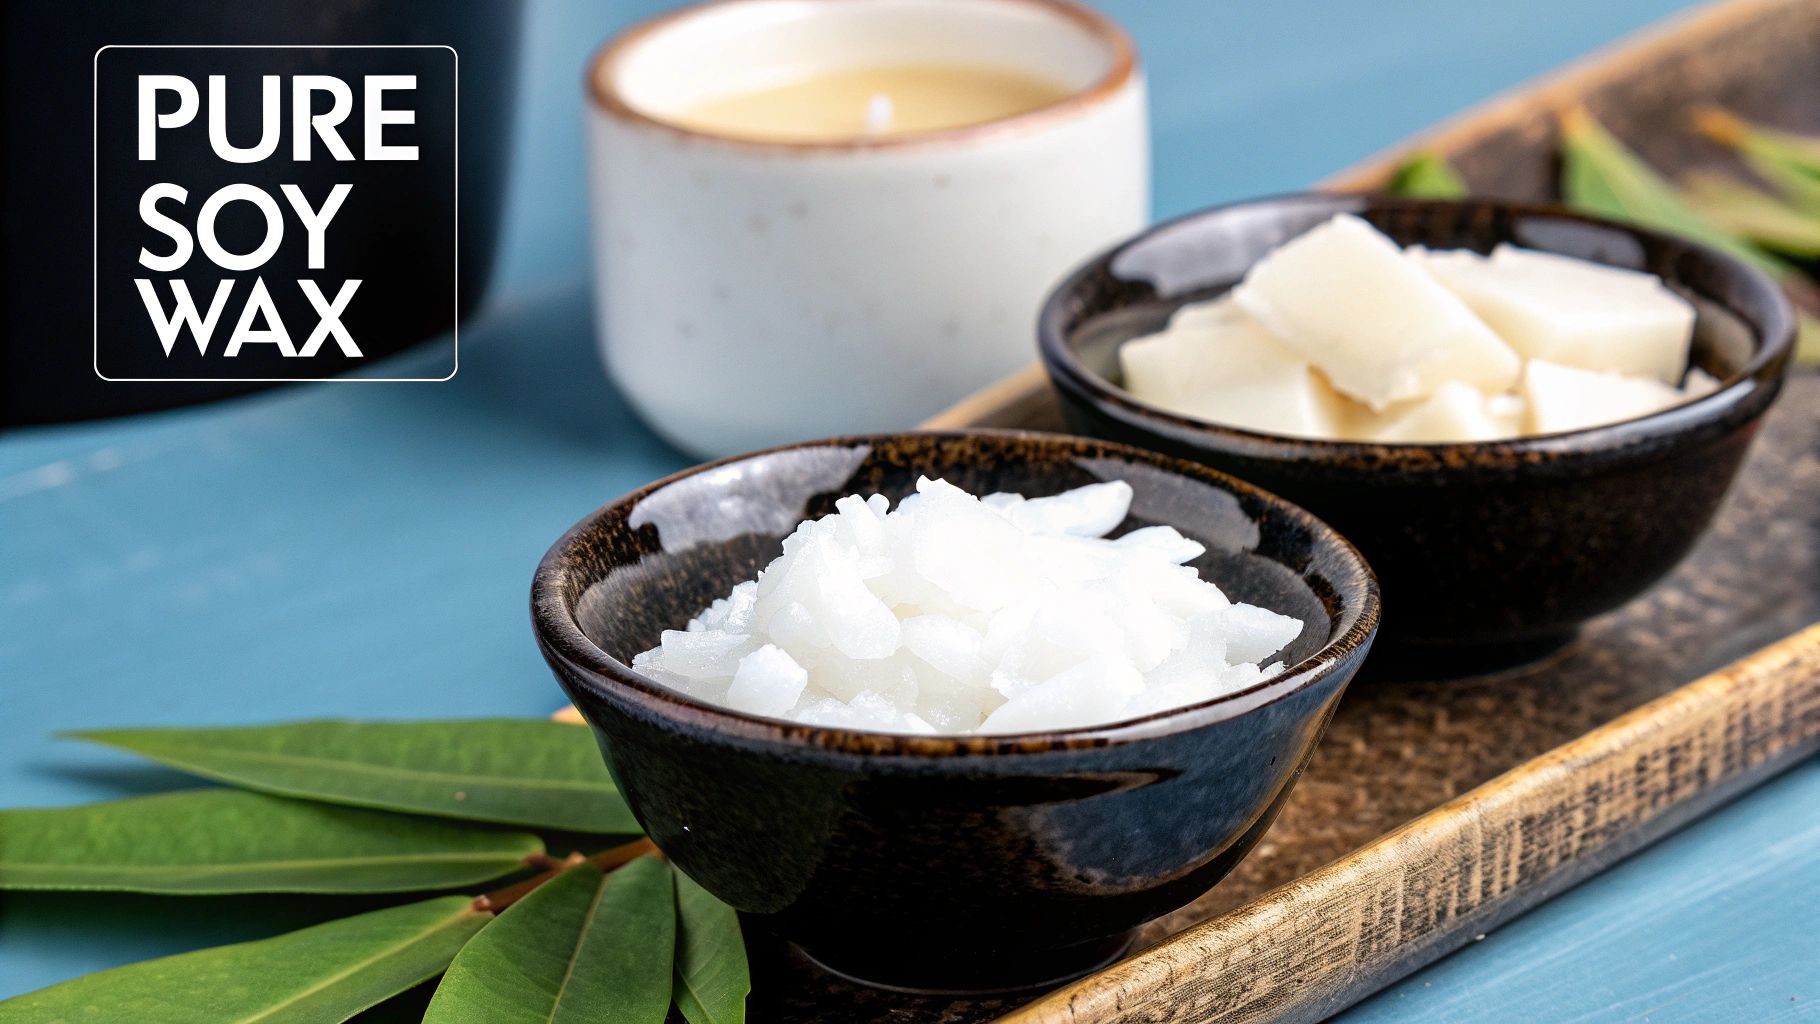
When you start shopping around, you'll quickly notice two main camps: 100% pure soy wax and soy wax blends.
Pure soy wax is loved for its creamy texture and eco-friendly credentials. It’s a fantastic, natural option, but it can be a bit fussy. If you’ve ever seen a homemade soy candle with a slightly bumpy top or a white, crystalline pattern called "frosting," that’s often the pure soy showing its character.
Soy blends, on the other hand, are often mixed with other natural waxes (like coconut or palm) or specific additives to boost performance. These are a great starting point if you want more predictable results. They usually give you smoother tops, better adhesion to the glass (fewer "wet spots"), and a more powerful scent throw. We actually have a whole article diving into why we use coconut soy wax in our candles if you want to learn more.
Understanding Wax Lingo
As you browse different waxes, you'll run into terms like "melt point" and "fragrance load." These aren't just technical details; they’re your roadmap to how the wax will perform.
- Melt Point: This is simply the temperature where the wax melts. For container candles, you'll typically want a lower melt point, usually around 49-52°C, because it helps the candle burn slower and more evenly.
- Fragrance Load: This number tells you the maximum amount of fragrance oil the wax can hold without breaking a sweat. Most soy waxes have a fragrance load between 6-12%. Pushing past that limit can cause the oil to literally weep out of the finished candle, which isn't a good look.
For example, if you're making a small candle for a bedroom, a wax with a lower melt point and a moderate fragrance load will work beautifully. But for a large, freestanding pillar candle, you'd need a wax with a higher melt point to make sure it holds its shape.
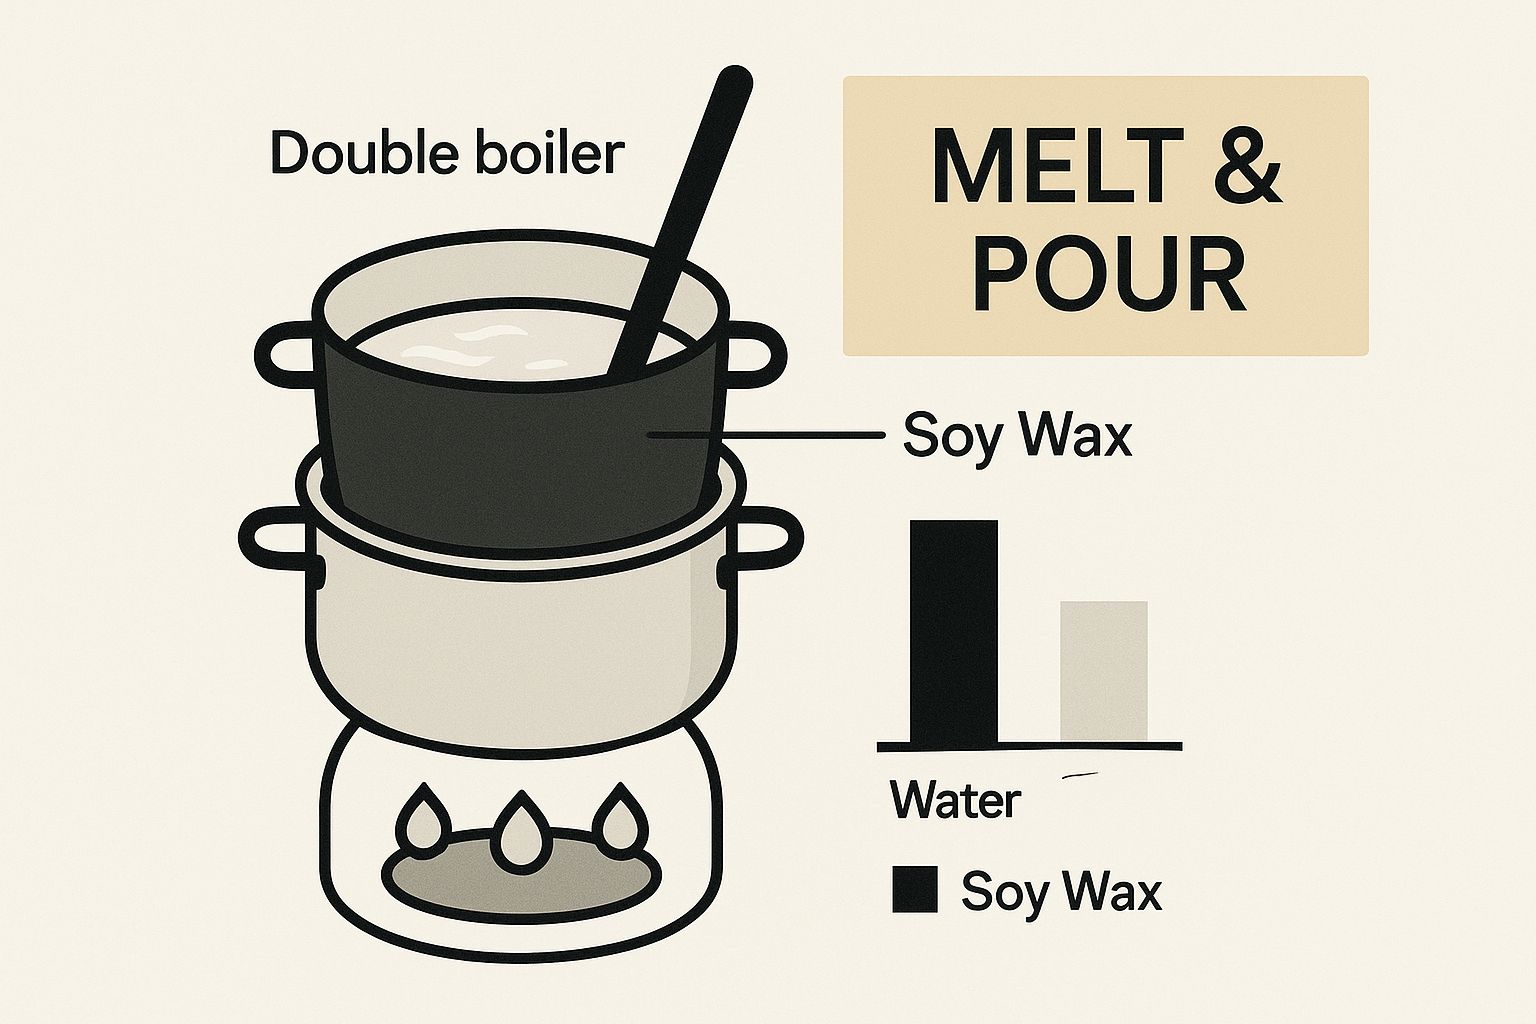
The image above shows the process in its simplest form. Gently melting the wax is key—it preserves its integrity and ensures it binds properly with your fragrance oil for a strong, beautiful scent.
A Quick Guide to Common Soy Waxes
Choosing the right wax can feel overwhelming with all the options out there. This table breaks down a few popular types to help you find the perfect match for your next project.
Soy Wax Types Comparison for Candle Making
| Soy Wax Type | Form | Typical Melt Point | Best For |
|---|---|---|---|
| Golden Wax 464 | Flakes | 46-49°C | Container candles; excellent scent throw and glass adhesion. Very beginner-friendly. |
| EcoSoya CB-Advanced | Pastilles | 48-52°C | Container candles; known for smooth tops and resisting frosting. Great for luxury lines. |
| NatureWax C-3 | Flakes | 52-54°C | Container candles; a reliable workhorse wax that holds a good amount of fragrance. |
| Golden Wax 444 | Flakes | 49-52°C | Container candles; slightly higher melt point than 464, which can help in warmer climates. |
| EcoSoya PillarBlend | Pastilles | 57-60°C | Pillar candles, wax melts, and tarts. Designed for easy mould release. |
Ultimately, the best way to find your favourite is to experiment! Grab a small bag of a couple of different types and see which one gives you the results you love.
Matching the Wax to Your Candle
So, what kind of candle are you planning to make? The answer to that question will immediately narrow down your options.
Container waxes are specifically designed to be soft and to stick to the sides of glass jars or tins. Pillar waxes, however, are harder and are made to shrink just a tiny bit as they cool, which makes it easy to pop them out of a mould. If you try to make a pillar candle with a container wax, you'll end up with a slumpy, sad mess that won’t hold its shape.
Across Canada, candle makers lean towards high-quality soy waxes that perform well in our varied climate. Waxes that can hold a fragrance load up to 12% are especially popular for creating powerfully scented candles. A common melt point for container soy wax is around 51°C, which is a bit lower than traditional paraffin. This lower temperature is part of what gives soy candles their signature slow, clean burn.
Setting Up Your Candle Making Workspace
Before you even think about melting wax, let's talk about your setup. A great candle starts with an organised and safe workspace. You don’t need a fancy studio; a clear spot on your kitchen counter or a sturdy table works just fine. The real goal is creating an efficient space that keeps messes contained and your tools within easy reach.
First things first: protect your surfaces. I can't stress this enough. Wax spills are pretty much a guarantee when you're starting out, but a simple silicone craft mat, some old newspapers, or even a flattened cardboard box will save you a major headache later. Keep a roll of paper towels close by for any drips—you’ll thank me later.
Assembling Your Essential Tools
Think of setting up your workspace like prepping ingredients for a favourite recipe. When everything is measured out and ready to go, the whole process feels less chaotic and a lot more fun. You don't need to break the bank on gear, but a few key items are non-negotiable.
Here’s what I consider the absolute must-haves:
- A Double Boiler or Wax Melter: This is critical. You need gentle, even heat, and a proper double boiler prevents your soy wax from scorching. A burnt wax won't hold scent properly and can ruin your candle's look. You can easily rig one up with a large pot for water and a smaller pouring pitcher that fits inside.
- A Digital Kitchen Scale: Candle making is a science, and guesswork is your worst enemy. A digital scale is the only way to accurately measure your soy candle wax for candle making and fragrance oils. Precision is what gives you a consistent, amazing scent throw every single time.
- A Thermometer: Temperature is everything. Seriously. A simple digital or candy thermometer is your best friend for monitoring the wax. It tells you the exact moment to add your fragrance oil for the best possible bond and scent.
Having an organised space isn't just about being tidy—it's about safety. Make sure kids and pets are out of the area, open a window for good ventilation, and never walk away from melting wax.
Creating an Efficient Workflow
Once your tools are gathered, think about your flow. I like to group similar items together. Wicks, wick stickers, and centring tools all go in one spot. Fragrance oils and measuring tools go in another. This simple step stops you from scrambling mid-process when the hot wax is waiting.
Try laying everything out in the order you'll need it. This creates a natural, step-by-step path that makes the whole session feel smooth and intentional. For a full list of gear and other ideas, take a look at our guide on the top supplies for making candles. A little prep work turns a potentially stressful task into the creative, joyful craft it's meant to be.
Bringing Your Candle to Life: Melting and Pouring
This is where the real magic happens. All your prep work comes down to this moment, transforming solid flakes of soy wax into a shimmering liquid ready to become a beautiful candle. Getting the melting and pouring right is less about speed and more about being patient and precise. Temperature control is absolutely everything here—it’s what dictates how your fragrance and wax play together and ultimately determines how your finished candle looks and smells.
Your go-to tool for this is a double boiler. You don't need anything fancy; a simple pouring pitcher nestled inside a larger pot of simmering water is perfect. This setup gives you gentle, indirect heat, which is key to making sure your soy candle wax for candle making doesn't scorch. Whatever you do, never melt wax directly on a stovetop burner. It's a surefire way to overheat the wax, which can ruin its ability to hold a scent properly.
The Perfect Melt
Start by melting your wax flakes over medium heat. You’ll want to keep a thermometer close by, watching as the solid wax slowly gives way to a clear, golden liquid. Most container soy waxes will be fully melted around 49–52°C, but your job isn't done just yet. Now, you need to bring that temperature up a bit more to get it ready for your fragrance oil.
The magic number for most soy waxes is 85°C (185°F). Hitting this specific temperature is critical because it essentially opens up the wax molecules, allowing them to grab onto the fragrance oil and create a strong, lasting bond. If you add your fragrance when the wax is too cool, the oil won’t mix in properly, and you'll end up with a disappointingly weak scent throw.
As soon as your wax hits 85°C, take the pitcher off the heat. It’s time to add your fragrance oil.
Pro Tip: Stir the fragrance oil into the wax gently but thoroughly for a full two minutes. It might feel like a long time, but it's worth it. Avoid the temptation to whip it like you're making a cake—that just introduces air bubbles that can cause little pits and flaws on the surface of your candle later. A slow, steady stir with a silicone spatula is all you need.
Once your fragrance is mixed in, it’s time to practice a little patience. You can't pour the wax just yet. Pouring it this hot can cause a whole host of problems, from ugly cracks and sinkholes forming as it cools to, in a worst-case scenario, even cracking your glass container. You have to let it cool down first.
Mastering the Pour
For most soy waxes, the sweet spot for pouring is between 50–60°C (122–140°F). This cooler temperature is the secret to getting those smooth, professional-looking tops because it encourages the wax to cool down slowly and evenly.
Pour the wax into your prepped container in a slow, steady stream. Rushing this step can knock your wick off-centre or create more of those pesky air bubbles. Aim for a single, consistent pour right into the middle of the jar, trying not to splash any wax up the sides. If you see the wick has shifted a bit, just use your wick centring tool to gently nudge it back into place before the wax begins to set.
Once it’s poured, hands off! Let the candle sit completely undisturbed on a flat surface, away from any drafts or open windows, for at least 12 hours. An entire 24 hours is even better. This allows the soy wax to harden properly and kickstarts the curing process, where the fragrance and wax continue to meld and mature.
If you're still deciding on scents, understanding the difference between fragrance oil and essential oil is a game-changer. Knowing how each one behaves with soy wax will help you make choices that lead to a much better final candle.
Troubleshooting Common Soy Wax Issues
Even when you follow every step perfectly, the quirks of natural soy wax can sometimes throw you a curveball. These little imperfections are often the last thing standing between a good candle and a truly professional-looking one. But don't worry, getting a handle on why they happen is the key to mastering your craft.
Two of the most common things you'll run into are "frosting" and "wet spots." They might sound bad, but I promise they are purely cosmetic. It's just the nature of working with a vegetable wax like soy, and it won’t affect the way your candle burns or smells one bit.
Conquering Frosting and Wet Spots
So, what are these things? Frosting shows up as tiny, white, crystal-like patterns on the surface or sides of your candle. It's just the soy wax trying to get back to its natural crystalline form, and it's usually triggered by temperature swings as the candle cools.
Wet spots aren't actually wet. They're just spots where the wax has pulled away from the container, creating a little air gap that looks like a dark, damp patch. This is a classic sign of the wax cooling too quickly and shrinking away from the glass.
Here are a few tricks I’ve learned to keep them to a minimum:
- Warm up your containers. A quick pass with a heat gun or even a few minutes in a warm oven (on the lowest setting!) before pouring makes a huge difference. This stops the hot wax from getting a temperature shock when it hits the cool glass.
- Find a good spot for cooling. Let your candles set up in a room-temperature space, far away from drafts, open windows, or chilly granite countertops. A slow, even cooling process is what you're aiming for.
- Pour a little cooler. Try pouring your wax at the lower end of its recommended range, somewhere around 52-55°C. This simple adjustment can dramatically reduce the chances of both frosting and wet spots showing up.
Here's a little secret from the pros: many seasoned candle makers actually embrace a bit of frosting. They see it as a beautiful, natural hallmark of a candle made from 100% soy wax—turning a supposed "flaw" into a sign of authenticity.
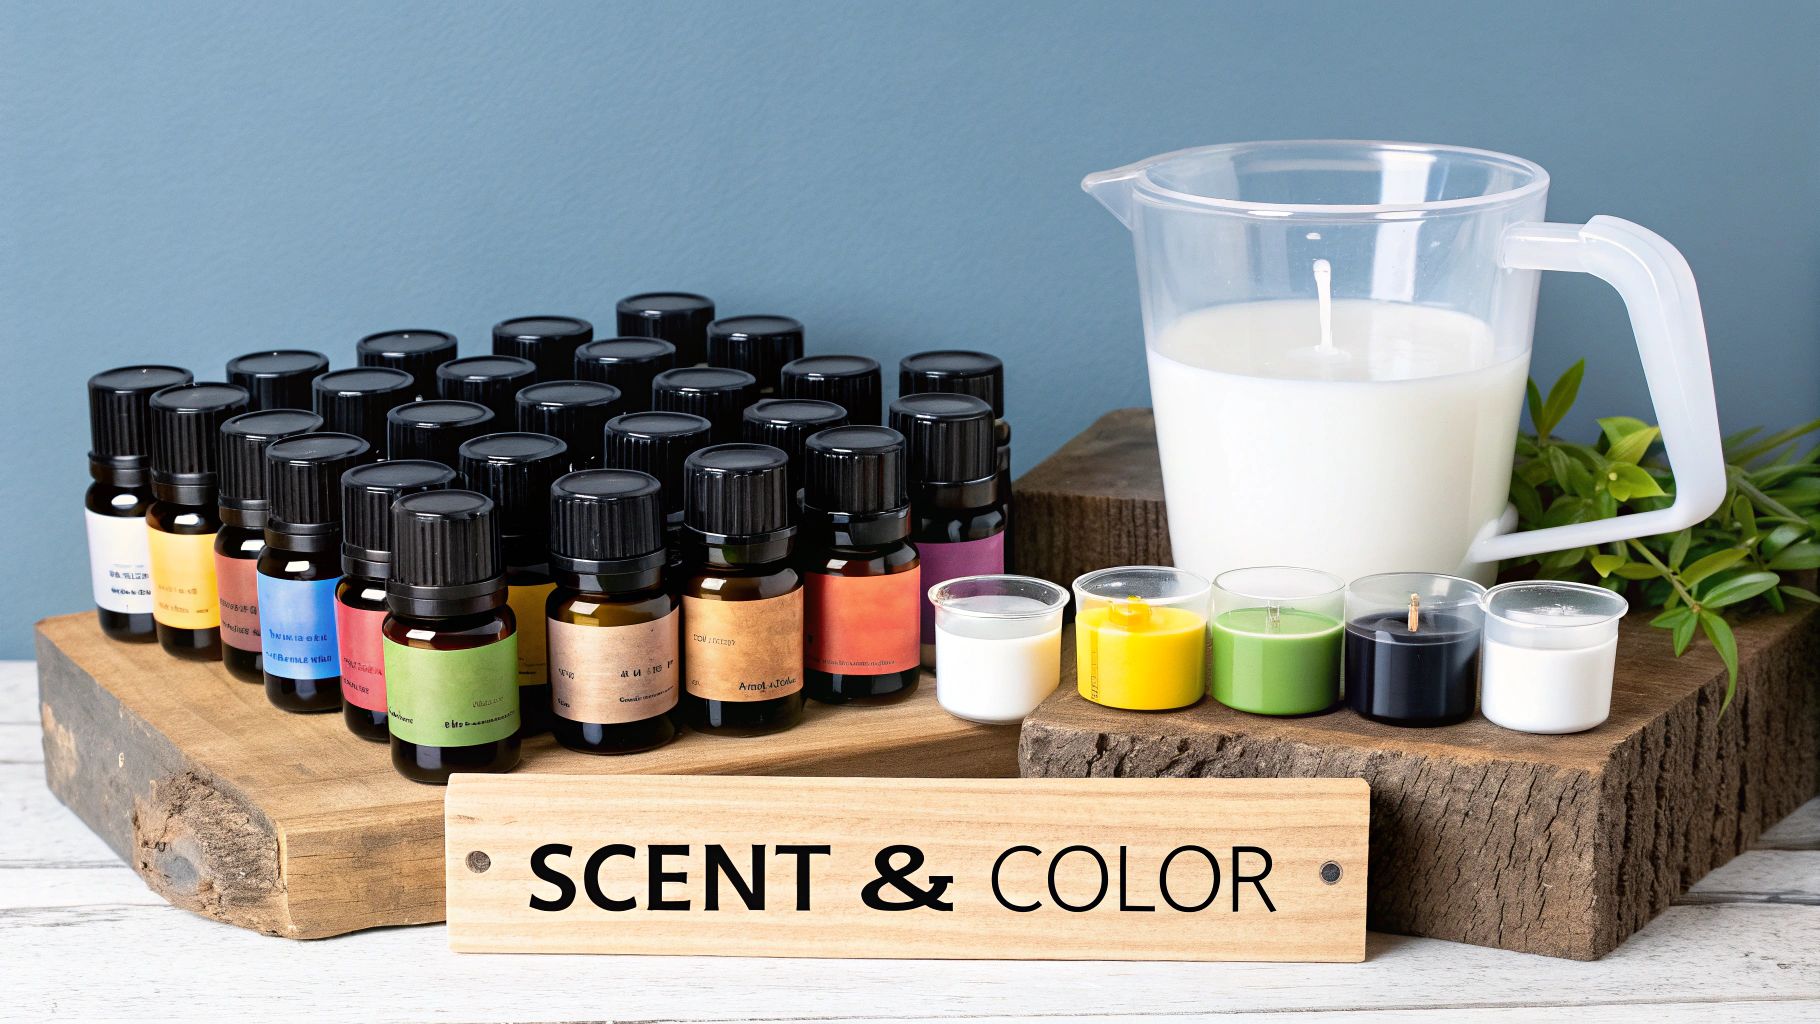
Maximizing Scent Throw and Colour
There's nothing more disappointing than a candle that looks great but has a weak scent or patchy colour. The good news is, these problems are almost always fixable with a few tweaks to your process.
The secret to a powerful, room-filling scent is all about temperature and patience. Make sure you're adding your fragrance oil right when the wax hits 85°C (185°F). This is the sweet spot where the oil can properly bind with the wax. Stir gently for a full two minutes, then let the wax cool to your ideal pour temperature before filling your jars.
And here’s the most important part: you have to let your candles cure. Giving them one to two weeks allows the fragrance and wax to fully meld together, which is what gives you that amazing scent when you finally light the wick.
For vibrant, even colours, timing is also everything. Add your dye when the wax is fully melted and at its hottest point. Stir gently but thoroughly until every last flake or drop is dissolved to avoid any speckles or streaks.
It’s also worth noting how outside factors can affect your craft, especially if you're running a small business. The cost of soy candle wax for candle making is tied to agricultural markets. For instance, in early 2021, a 19.7% spike in soybean oil futures directly impacted soy wax prices. You can read more about these candle industry dynamics and their impact on material costs to understand how the market works.
Another issue that can ruin a good scent throw is candle tunnelling, which is when the wick burns a hole right down the centre of the candle. If that happens, don't throw it out! You can learn how to fix candle tunneling and restore perfect burns and save your creation.
Common Questions About Making Soy Candles
Even with a perfect recipe, soy wax can be a bit tricky. It's a natural product, and that means it has its own unique quirks. Getting a handle on these common issues is what separates a good candle from a great one. Let’s tackle some of the questions that pop up most often for new candle makers.
How Long Should My Soy Candles Cure?
This is the big one. It's also the step most people want to rush, but patience really is your secret weapon for a fantastic scent throw. Technically, you could light your candle after a few days, but for the best results, you need to let it cure for a full one to two weeks.
Think of it like a good wine—it gets better with time. Curing allows the fragrance oil molecules to fully bind with the wax. When you give them this time to get acquainted in a cool, dark spot, you'll be rewarded with a much stronger and more consistent scent when the candle is burning.
Pro Tip: Don't skip the cure! A two-week cure time is the gold standard for achieving an amazing "hot throw" (the scent released when burning). I promise, it makes a world of difference.
Why Are the Tops of My Soy Candles Bumpy?
If you’ve made a few soy candles, you’ve probably seen this. Those rough, lumpy tops are a classic sign that your wax cooled down too quickly. It’s a purely cosmetic issue, but one that’s thankfully easy to fix by controlling your temperatures.
Try gently warming your candle jars just before you pour. You can use a heat gun or even pop them in a warm oven for a few minutes. This little step stops the hot wax from getting "shocked" by a cold container. Pouring the wax at a slightly lower temperature can also help it cool more gradually, giving you that smooth, professional finish.
Already have a candle with a bumpy top? No problem. A quick blast with a heat gun will melt that top layer, letting it reset into a perfectly smooth surface.
How Do I Choose the Right Wick Size?
Wick sizing can feel like a bit of a dark art at first, but it's one of the most crucial parts of making a safe, high-performing candle. The number one rule to remember is that the wick size is determined by the diameter of your jar, not its height or volume.
- Wick too big? You’ll get a huge, flickering flame, a lot of soot, and a candle that burns way too fast.
- Wick too small? This causes "tunnelling." The wick will only melt a small circle in the centre, leaving a thick wall of unused wax around the edge of the jar.
Your wax and container suppliers should have detailed wicking guides on their websites—use them! It's always a good idea to make a single test candle before pouring a whole batch. A proper test burn should create a full melt pool (melted wax that reaches the edge of the jar) in about two to three hours.
Once your candle burns perfectly, making it look professional is the next step. You can learn more about creating stunning custom candle labels to give your products that final, polished touch.
At Shivora Candles, we believe in the beauty of handcrafted quality. Explore our collection of premium soy wax candles to find your next favourite scent. Visit us at https://shivoracandles.com to bring a touch of handcrafted luxury into your home.